
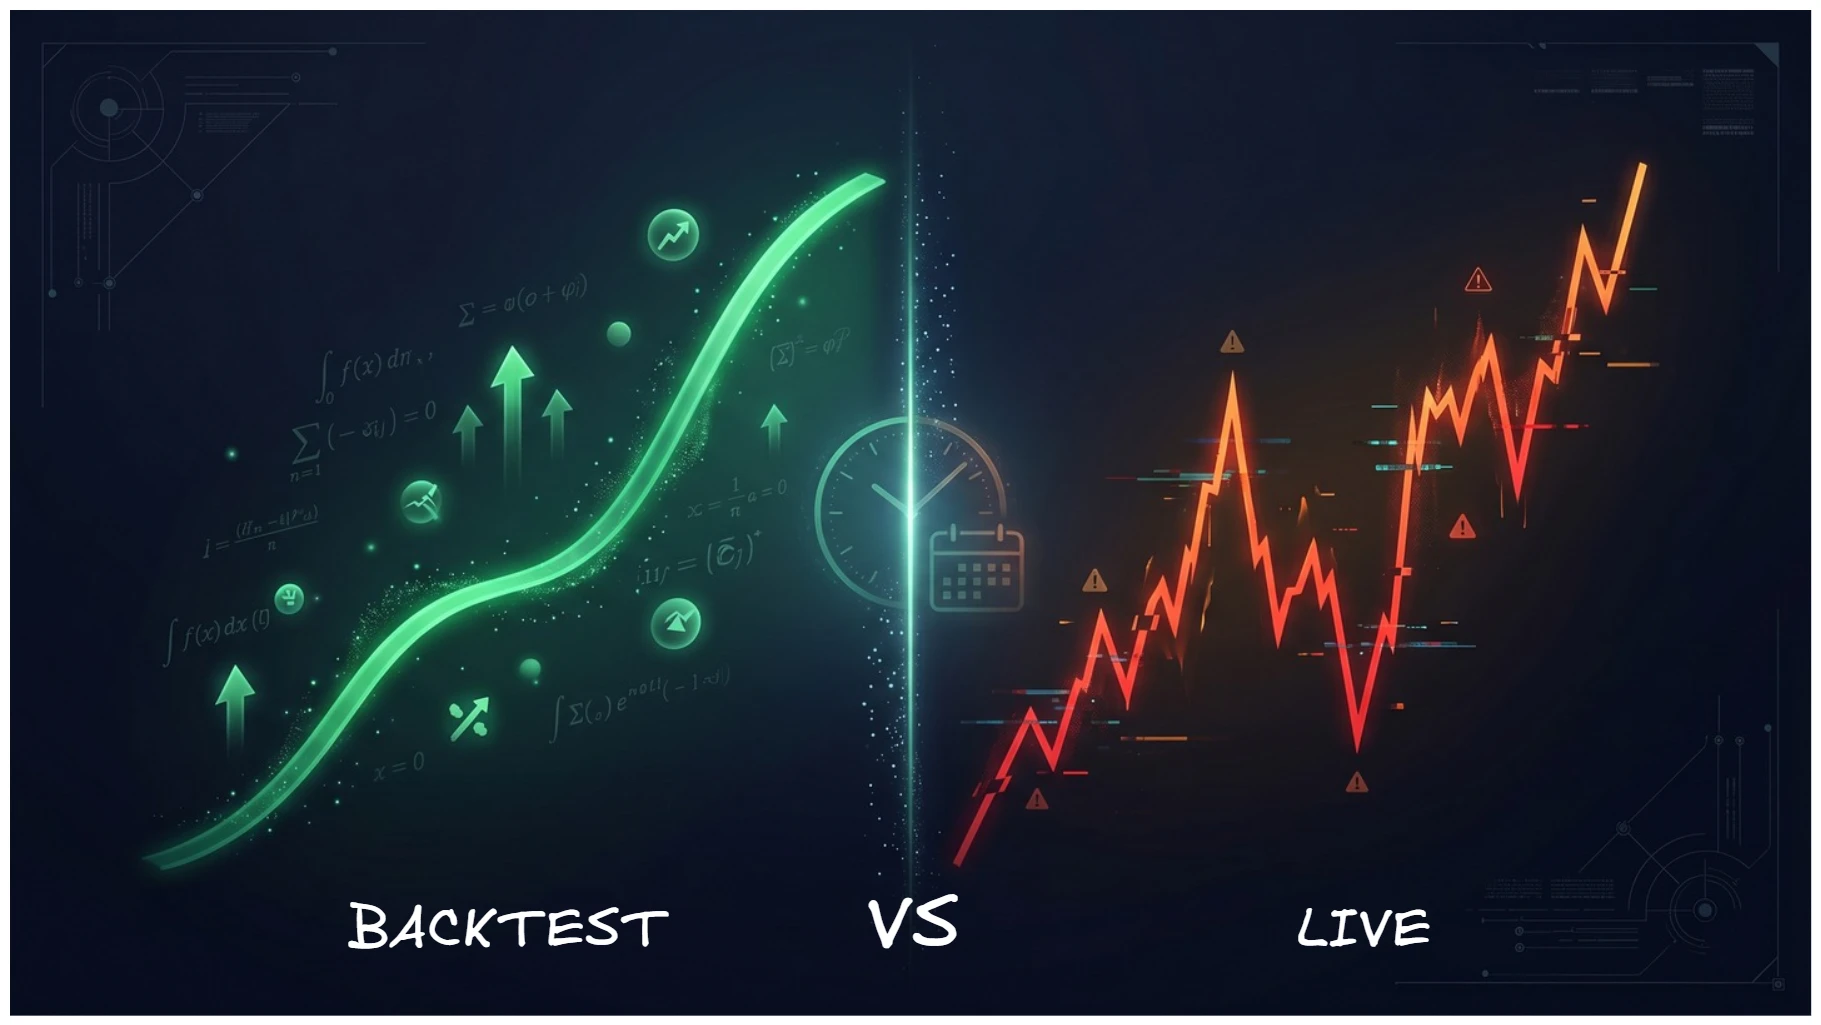
The $55,000 Backtest That Wasn’t Real
The reality of backtest vs live trading is that the two often produce different numbers. The first time I ran a serious backtest on a strategy I was developing, the equity curve came back showing fifty-five thousand dollars of profit over ten years on a starting balance of six hundred. The Sharpe was clean. The drawdown was contained. The win rate was high enough that I felt the strategy was real. I stared at that curve for a long time, the way anyone who has ever run a profitable backtest stares at a profitable backtest, with that very specific mixture of belief and suspicion that anyone who has done this work will recognize. The belief is that you have actually found something. The suspicion is that you have not.
I ran the same strategy on real ticks instead of one-minute OHLC bars, with the same parameters, the same date range, the same broker, the same everything. The equity curve came back showing one thousand six hundred and fifty-three dollars. Same strategy. Same period. Different mode. The difference between fifty-five thousand and sixteen hundred was not a rounding error. It was the entire credibility of the backtest.
This post is about what backtests do not tell you, why they do not tell you, and what I have learned to test for instead after running EAs in live trading long enough to take the lessons personally. It is also the last post in the series I have been writing about my live setup, so it brings together a lot of what came before. If you have read the posts about TradingView webhooks, multi-exchange bots, the Python to MT5 bridge, and the dual-VPS infrastructure, this is the post where the question of why all of that engineering matters finally gets answered.
Backtest vs Live Trading: What Backtesting Actually Measures
A backtest measures one thing very well and several things very poorly. The thing it measures well is whether your entry and exit logic would have produced a positive expectancy on historical data. That is genuinely useful, and a strategy that fails this test is almost certainly not worth deploying live. But passing this test is the floor of viability, not the ceiling. Passing the backtest means the strategy is not obviously broken. It does not mean the strategy will work.
The things a backtest measures poorly, or not at all, are the things that determine whether a live deployment will actually make money. Slippage is the first one. Spread is the second. Latency is the third. Broker-specific execution behavior is the fourth. Infrastructure failures are the fifth. And the thing that almost no one talks about, the thing that broke more strategies than all of the others combined for me, is your own behavior when the strategy is losing money in real time. A backtest does not know that you will turn off the EA after a third consecutive losing trade. The backtest happily continues to bar number one thousand four hundred where the strategy would have recovered. Live you, the human, intervened at bar number one thousand and forty-six because you could not stand to watch.
The honest framing of what a backtest does is this. It is a screening tool. It rules out strategies that have no edge. It does not validate strategies that have an apparent edge. The validation has to come from live trading or from forward testing under conditions that look as close to live as you can make them, and even that is not the same thing as actually risking money.
The Slippage Lie
Slippage is the difference between the price you wanted and the price you got. In a backtest, your order fills at the exact price the bar closed at, or the exact price you specified, with zero deviation. In live trading, your order fills somewhere in the neighborhood of where you wanted it, and the size of the neighborhood depends on the liquidity at that moment, the speed of your connection to the broker, the broker’s own internal routing, and whether the market was moving when your order arrived.
For a strategy trading off one-hour bars on a major pair like USDJPY during normal market hours, slippage is usually under a pip per trade. Over hundreds of trades, that adds up to real money but it is not catastrophic. For a strategy trading the news, or trading minute bars during low-liquidity sessions, or trading exotic pairs that have wide spreads even in normal conditions, slippage can be the entire margin between profitability and loss.
The way to start accounting for slippage in your testing is to assume a fixed slippage cost per trade and subtract it from your backtest results before you take them seriously. A pip per trade on a strategy that averages five pips of profit per winning trade is a twenty percent haircut on your gross profit before you have even gotten to the live execution. Many backtests that look profitable on paper are actually break-even or worse once realistic slippage is applied. The strategy I was developing in the example above looked profitable on bars and broke even on real ticks largely because the slippage on bar-based testing was assumed to be zero.
The Spread Lie
Closely related to slippage is the spread lie. Spreads in backtesting are often modeled as a constant, or as the broker’s average spread, or as zero in particularly optimistic setups. In live trading, spreads vary by time of day, by economic event, by liquidity provider, by broker, and sometimes apparently by random chance. A strategy backtested against a fixed two-pip spread on EURUSD will perform very differently in live trading where the spread is one pip during the London open and seven pips during a Federal Reserve announcement.
The deeper issue with spread modeling is that the strategy you are testing might be entering trades exactly during the moments when the spread blows out. A breakout strategy that fires on momentum is often triggered by the same news event that widens the spread to four times its normal width. The backtest does not know this. The backtest applies the average spread to every trade, which makes the breakout look profitable, when in live trading the breakout is filled at a worse price during the spread expansion, and the apparent edge disappears.
The fix, partial as it is, is to test against variable spread data if your platform supports it, or to apply a conservatively wide spread in your backtest that approximates the worst-case conditions during the times your strategy actually trades. If the strategy is still profitable under conservative spread assumptions, you have more confidence in it than if it required the average spread to look good.
The Reboot You Didn’t Plan For
This is the thing that backtesting cannot model at all, because it lives in your infrastructure rather than in your strategy. Live trading happens on a machine that can fail. The machine reboots when Windows decides to update. The VPS provider reboots without telling you because they are doing maintenance. The broker connection drops when the network blips. The internet goes out for six hours and your bot is sitting idle while a perfect setup unfolds and resolves without you.
I wrote about this in detail in the previous post about my VPS setup. The point worth repeating here is that infrastructure failures do not show up in backtests because backtests assume the EA is always running. In live trading, the EA is running until it is not, and the duration of the not-running periods turns into missed trades, missed exits, and occasionally trades that were supposed to close at a stop loss but instead closed manually after the machine came back up to find the position underwater.
The way to account for this in your testing is to estimate your expected uptime and reduce your backtest results proportionally. If you expect ninety-five percent uptime, multiply your backtest profit by zero point nine five before you make any decisions about deployment. That is a five percent haircut on top of the slippage and spread haircuts already mentioned, and it is conservative because the trades you miss tend to cluster on the bad days when something else has gone wrong with the world.
The OHLC Trap
The single biggest discrepancy I have ever seen between a backtest and a live result was the strategy I mentioned in the introduction, the one that showed fifty-five thousand on bar-based testing and sixteen hundred on tick-based testing. The reason the gap was that large is worth understanding because it shows up in almost every backtest done in OHLC mode.
When a strategy is tested on one-minute OHLC bars, the testing engine sees the open, high, low, and close of each bar but does not see the path the price took within the bar. If your strategy places a buy order with a stop loss below the entry and a take profit above the entry, the engine has to decide what to do when a bar contains both the stop loss level and the take profit level. The engine typically guesses based on the bar’s direction. If the bar closed higher than it opened, the engine assumes the price went down to the low and then up to the high, so the stop loss would have been hit before the take profit. If the bar closed lower, the engine assumes the opposite path.
This guess is wrong a lot of the time, and it is wrong in a way that consistently favors the strategy. The engine cannot tell whether your stop loss was actually touched and recovered or whether the price never went near it. In live trading, the stop loss is a real price level that gets hit if the market actually trades there, even for a moment. In OHLC backtesting, the engine often pretends the stop loss was not hit because it cannot prove that it was. The result is a backtest that looks dramatically better than reality because the apparent stop-out rate is much lower than the actual stop-out rate.
The fix is to run backtests in real tick mode, not OHLC mode, when your platform supports it. The fix is slower because real tick testing processes orders of magnitude more data, but the results are dramatically more realistic. If you are running an MT5 backtest, the difference between “Every tick” and “Every tick based on real ticks” is the difference between guessing and measuring. The first one is fast and lies. The second one is slow and tells the truth.
I now run final validation backtests only in real tick mode, and I treat any result in OHLC mode as preliminary. If a strategy looks profitable in OHLC and breaks even in real ticks, the strategy is not viable. If it looks profitable in real ticks, it might be worth a paper trading round.
The Psychology That Doesn’t Show Up
The thing that almost broke me in my first year of live trading was not any of the technical issues I have described so far. It was the psychological gap between watching a backtest equity curve go down and watching my real account equity curve go down. They are the same shape on paper. They are completely different experiences in practice, and the experience of the live drawdown affects the decisions you make next, which in turn affect the outcome of the strategy.
A backtest with a twenty-five percent maximum drawdown looks bad on a chart. A live account with a twenty-five percent drawdown is a real two hundred and fifty dollars out of a thousand-dollar account, watched in real time, while you eat dinner and try not to look at your phone. The temptation to intervene is constant. The temptation to lower the lot size, change the parameters, turn off the EA, or do anything other than let the strategy play out is the strongest force in retail algorithmic trading, and it is the force that ruins more strategies than any technical issue.
The first version of my live Aurora Layer XQ deployment had a drawdown period in the third month where the account spent about four weeks underwater. The backtest told me this would happen. The backtest had drawdowns like this scattered throughout its ten-year history, all of them eventually recovering. Knowing that did not stop me from checking the account three times a day during the drawdown, second-guessing the parameter choices, and wondering whether something fundamental had changed about the market that the backtest could not see. Nothing had changed. The drawdown ended, the equity curve recovered, and the next two months were profitable enough to set a new high water mark.
The lesson is not that you should ignore your emotions. The lesson is that you should design your testing process to surface the worst drawdown the strategy is likely to produce, and you should ask yourself honestly whether you can sit through it without intervening. If you cannot, the strategy is not viable for you, regardless of what the backtest says. You will turn it off at the bottom and lock in the loss. The strategy with a thirty percent drawdown that you cannot tolerate is worse for you than the strategy with a ten percent drawdown that you can sleep through.
The Filters That Saved Aurora Layer XQ
The strategy I run live, Aurora Layer XQ on USDJPY one-hour bars, has two specific filters that I added after live trading taught me they were necessary. Neither of these filters were in the original backtest. Both of them were added because of things I saw happen live that the backtest could not see.
The first filter is an ADX threshold. The original version of the strategy entered trades whenever the dual logic of the EMA cross and the Bollinger breakout agreed. In live trading, I noticed that a meaningful percentage of these trades occurred during low-trend conditions where neither the EMA nor the Bollinger band had real signal, and the strategy was essentially randomized. I added a filter requiring the ADX to be above twenty before any entry could fire. The threshold of twenty is what most ADX literature considers the boundary between trending and ranging conditions. Adding this filter removed about thirty percent of the trade count from the strategy, and the trades it removed were disproportionately losing trades. The remaining trades had a higher hit rate and a tighter drawdown profile.
The second filter is the new bar filter. The original version of the strategy could evaluate entry conditions on every tick. In live trading, this created weird artifacts where the strategy would briefly trigger on intrabar noise and then untrigger before the bar closed, sometimes leading to entry-then-immediate-exit sequences that cost money to both broker commissions and slippage. I changed the strategy to evaluate entry logic only at the open of a new bar, using the closed-bar values of all the indicators. This is slower in the sense that the strategy reacts an hour later than it could, but on a one-hour timeframe that is irrelevant, and the elimination of intrabar noise was worth more than the speed gain would have been.
Neither of these filters were obvious from the backtest. The backtest, in OHLC mode, was already evaluating signals at bar closes, so the new-bar filter was implicit. The backtest could not see the intrabar noise that became visible only in live trading. The ADX filter was something I added because I watched the strategy take trades I would not have taken manually and asked why those trades were getting through.
What I Actually Test For Now
After enough cycles of building a strategy, backtesting it, deploying it live, watching it underperform, and going back to figure out why, I have developed a process for testing that is more conservative than what I used to do. The process is not foolproof. Strategies still fail in live deployment for reasons I could not have anticipated. But the failure rate is much lower than it used to be, and the strategies that survive the process tend to actually work.
The first thing I do is run the strategy in real tick mode, not OHLC mode, for the longest historical window the platform allows. If the strategy is profitable only in OHLC mode and breaks even in real ticks, I throw it out. This catches the OHLC trap before I waste any more time on the strategy.
The second thing I do is apply pessimistic assumptions about spread and slippage. I use the worst spread I have observed during the trading hours the strategy uses, and I apply a fixed slippage cost per trade that is at least double what I expect in normal conditions. If the strategy is still profitable under these assumptions, it has a real edge. If it requires generous assumptions to look profitable, the edge is probably an artifact.
The third thing I do is paper trade the strategy on a live demo account for at least two months before risking real capital. The paper trade does not have my emotions in it, but it has everything else: real spreads, real slippage, real connection issues, real broker behavior. If the paper trade matches the backtest within a reasonable margin, I move to a small real account. If the paper trade diverges significantly, I figure out why before doing anything else.
The fourth thing I do is start the live deployment with the smallest possible lot size that the broker will accept. The point of the initial live period is not to make money. It is to verify that everything works exactly the way it worked in the paper trade. If the live trades are matching the paper trades, I can scale up. If something is different, I want to find out at minimum size, not after I have committed real capital.
The fifth thing I do is keep the strategy running for at least three months at small size before deciding whether to scale or kill it. Three months is long enough for at least one drawdown cycle on most strategies, and the drawdown is the moment of truth. If I sit through the drawdown and the strategy recovers, I trust it. If I cannot sit through the drawdown without turning it off, the strategy is not for me regardless of what the math says.
What Backtesting Was Designed to Do
I have spent most of this post explaining what backtesting cannot tell you. To be fair to the practice, it is worth ending with what backtesting can tell you, and why it is still worth doing.
Backtesting is a screening tool. It removes from consideration the strategies that are obviously not viable. If a strategy cannot make money on historical data with zero slippage, zero spread, and assumed perfect execution, it is not going to make money in live trading where all of those things work against it. The strategies that survive the most lenient backtest are the only candidates worth pursuing. The strategies that fail the lenient backtest can be discarded without further work.
Backtesting is also a parameter sensitivity tool. If you run a strategy with a range of parameter values and find that profitability collapses with small changes in any single parameter, the strategy is overfit to the historical data. The robust strategies are the ones that produce reasonable results across a wide plateau of parameter values, and the only way to find this out is to run the backtests across the parameter ranges and see how the surface looks.
Backtesting is, finally, an educational tool. Watching a strategy play out across ten years of historical data teaches you what the strategy actually does, when it makes money, when it loses money, and what kinds of conditions it cannot handle. This knowledge is what allows you to design the filters and the safety nets that make the strategy survive in live deployment. The Aurora Layer XQ filters I added were ideas that came from watching the strategy fail in backtests and asking what would have prevented those failures.
What backtesting is not, and what I wish someone had told me three years ago, is a validation that the strategy will make money. It tells you whether the strategy could make money in a sanitized version of the past. The version of the future you actually have to trade in is different, and the difference is everything.
The Live Setup This Series Has Been About
This is the last post in a series of five that I have been writing about my live trading setup, and it is the right place to bring the threads together. I have written about how I send signals from TradingView to Python through webhooks, about the production bugs I hit running bots across Binance, Bybit, and Bitget, about the bridge architecture I use to connect Python analytics to MT5 execution, and about the dual-VPS infrastructure that keeps everything running. All of that engineering exists for one reason, which is to bridge the gap between what a backtest looks like and what live trading actually feels like.
The strategy I run on this stack is Aurora Layer XQ, which is documented in detail in my Nova Quant Lab masterclass bundle. The bundle includes the EA itself, the eighteen-chapter implementation guide that explains how the dual-strategy logic and the ADX filter and the step lot money management fit together, and the operational practices that I have developed through trial and error to keep the live signal running. The bundle is not a magic profit machine. It is a complete, working example of a strategy that has been backtested honestly and deployed live, with all of the filters and safety nets in place that I learned to add the hard way.
If you take one lesson from this entire series, let it be this. The backtest is not the strategy. The strategy is the backtest plus the slippage plus the spread plus the infrastructure plus your own behavior under pressure plus the filters you add when you watch the strategy fail in ways the backtest did not predict. All of those pieces have to work together. If any of them fail, the others do not save you. The work is in building all of the pieces, and then in trusting them long enough to let the strategy do what it is supposed to do.
The live signal is still running. The equity curve is still being added to. The lessons in this series are the ones that got me there.